ANDROID+ARDUINO+BLUETOOTH
Hi friends,
Today I'm going to continue the older post Bluetooth-Android meets Arduino .In the upcoming paragraphs i'm going to detailly explain to you all about how to do the project and its component to be used(what we used to make the project successful)
For new readers I will give a short explanation about the previous post :
This explain the android Bluetooth technology that could search for
your misplaced objects. The Bluetooth device search result is shown in mobile application
with a user interface to communicate with that Bluetooth tag. The mobile
Bluetooth communicates with the Bluetooth tag placed on the misplaced thing
through a signal and asks for the kind of response it should give you. Press
the response type and receive the signal back using your android mobile application. After all, this aims to provide more relaxation while
searching for important things using the simple Android-Arduino-Bluetooth technology.
So coming to the Components. Its nothings but all you need is simply a smartphone, Arduino UNO board and Bluetooth HC-05 breakout .
PIN Configuration
All know about smartphones, with that you want to download your mobiles usb driver so that you can easily run the android app from ADT to your mobile.Since Bluetooth is not supported by the ADT Emulator you want to deploy and test your app in mobile
Steps
1. Download your mobiles USB Driver
2. Install the driver in laptop/PC
3. Connect mobile and laptop with USB cable
4. Enable USB Debugging on your mobile.
5. While running the app in ADT, choose pick a device option in configuration window
6. If driver is properly installed then your device will be shown on AVD with your mobile model name.
with this you also want to install Arduino IDE from its official site or try using TeraTerm,BlueTerm ,etc..,
Software side is completed.......
Connections to be made on Hardware side...
Arduino UNO base board can bought from its official website.
HC-05 can be bought in http://fabtolab.com/
Give connections simple as given in the below diagram
To do simple operation this connection with the additional pin connection is enough. But to enter into AT command mode you want to set the Reset pin (Pin11 in HC-05,better solder it) and key Pin (Pin 34 in HC-05) to High.
Normal bandwidth we used is 9800(Mobile and normal operation) and 38400(AT mode) in serial monitor of Arduino IDE.
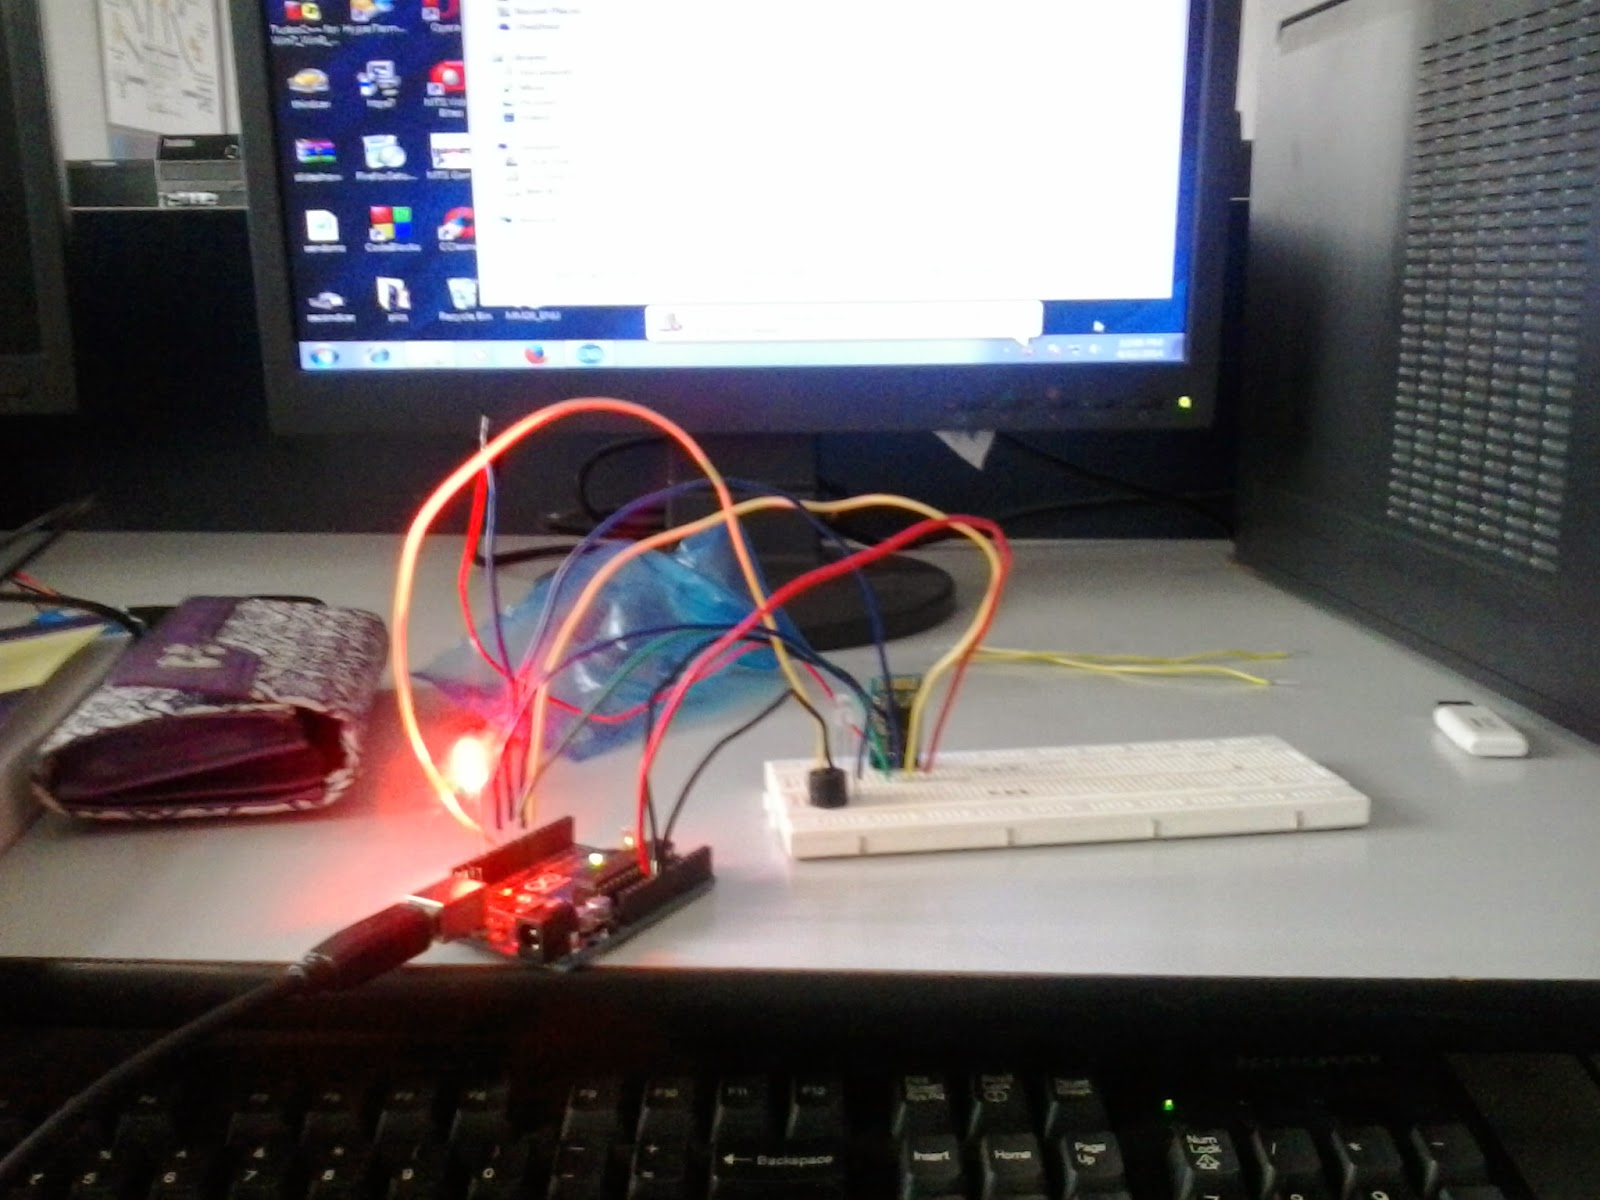
Our Project Final Outcome:
Hardware:
Since its our final year project work we couldn't brief about the coding and other things. Thanks for spending time to read our post....
With this outline, I think you must have got some ideas....
All the Best to all doing their final year project.....
Necessity is the mother of Invention......Jai Ho....


No comments:
Post a Comment